Spaces CDN
CDN Setup
If Your Games Does Not Use Addressables by Default
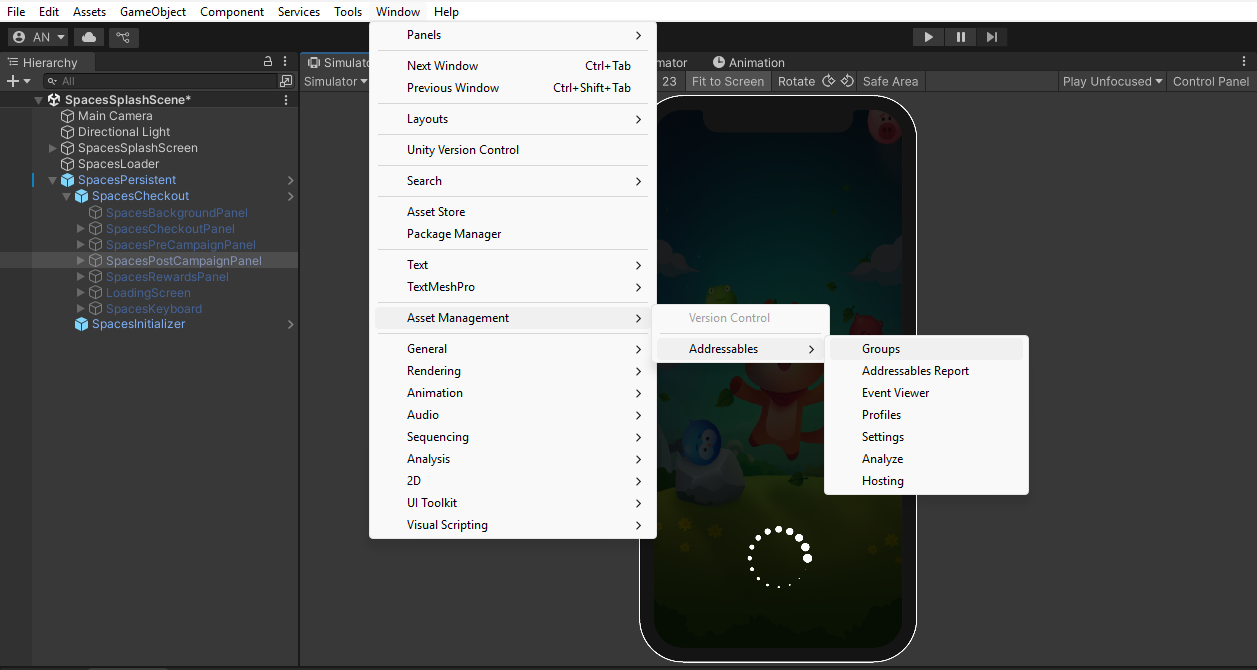
- Go to Windows -> Asset Management -> Addressables Groups -> Click on Create Addressables Settings
- Ignore the Legacy Asset Bundles, to keep it as a separate module from addressables
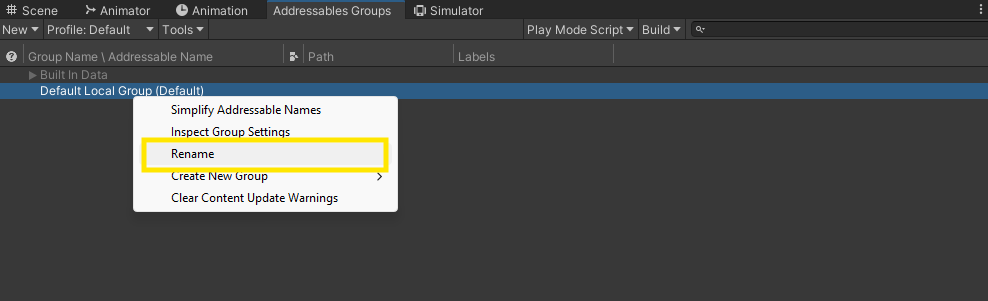
- Create Addressable Settings. Right Click on the Default Local Group and Rename it to SpacesGroup.

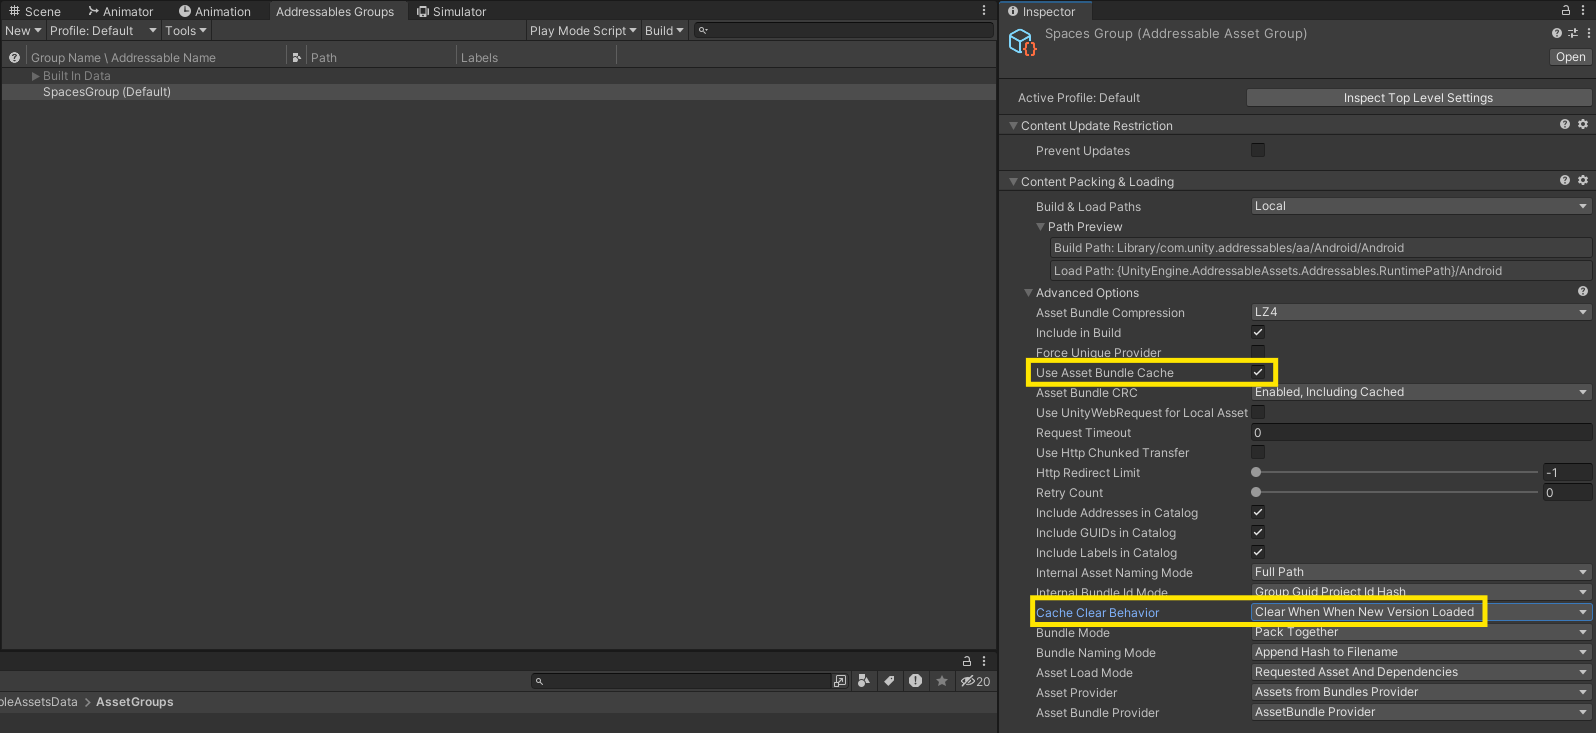
- Click on SpacesGroup, on the right side you will see an inspector window pop-up
- Turn on Use Asset Bundle Cache
- Set Cache Behaviour into Clear When When New Version Loaded
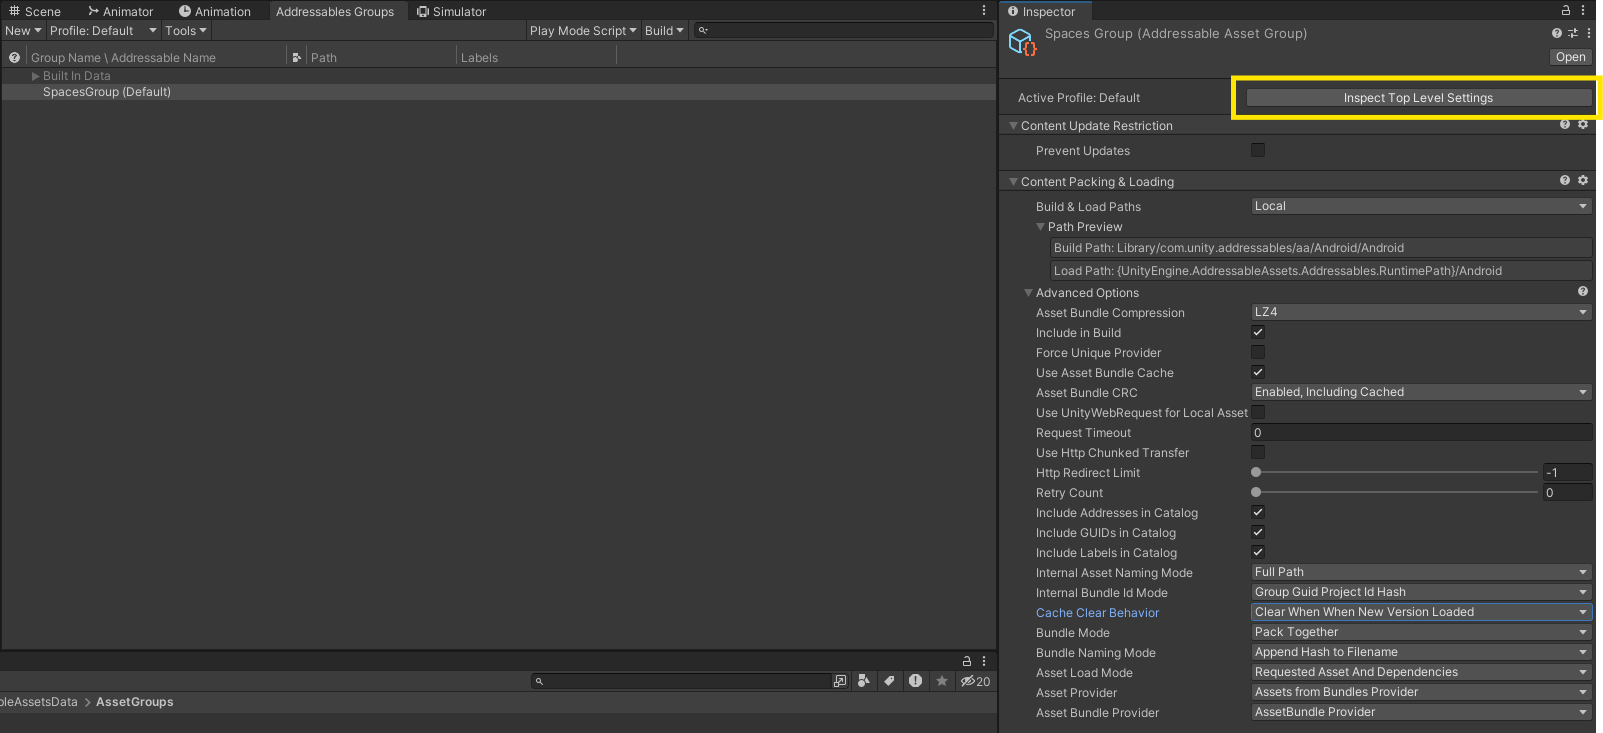
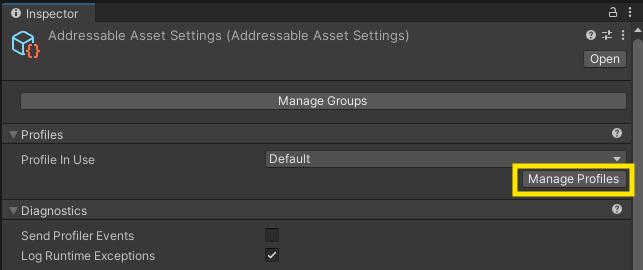
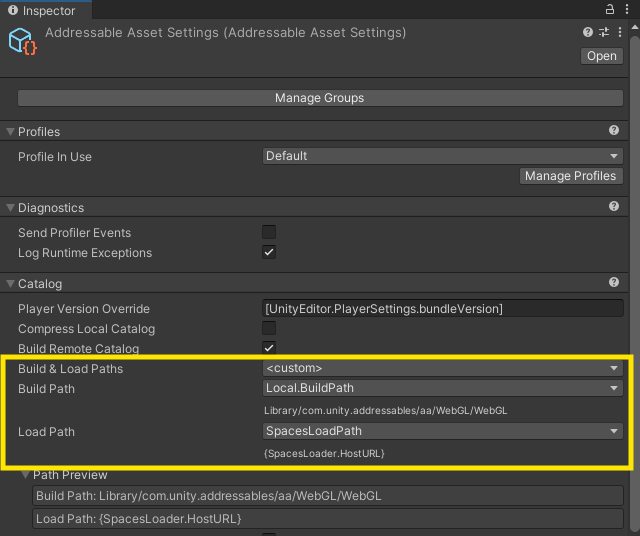
- Click on Inspect Top Level Settings
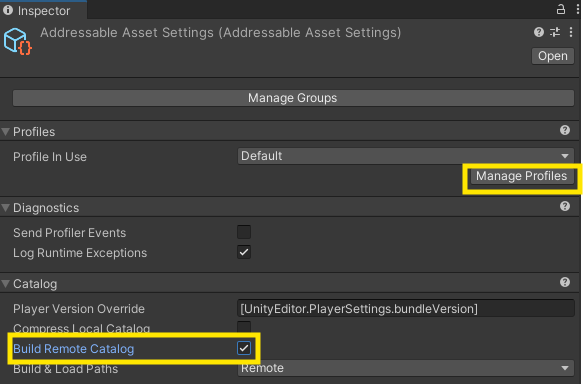
- Turn on Build Remote Catalog
- Click on Manage Profiles
- Set Remote into Custom
- Set Remote.BuildPath as
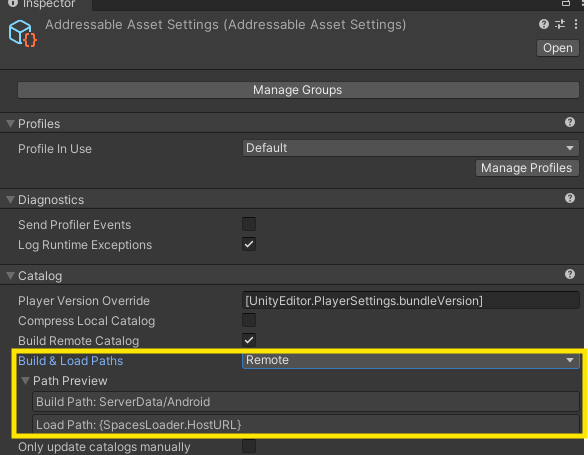
ServerData/[BuildTarget] - Set Remote.LoadPath as
{SpacesLoader.HostURL} - Close the Profile Window
- Set Remote.BuildPath as

- Under Catalog set Build and Load Paths as Remote
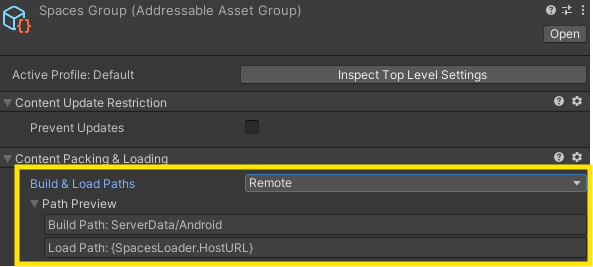
- Now in Double Click on SpacesGroup in Addressables Group Window, In Content Packing & Loading set Build & Load Paths to Remote
If Your Games Already Uses Addressables
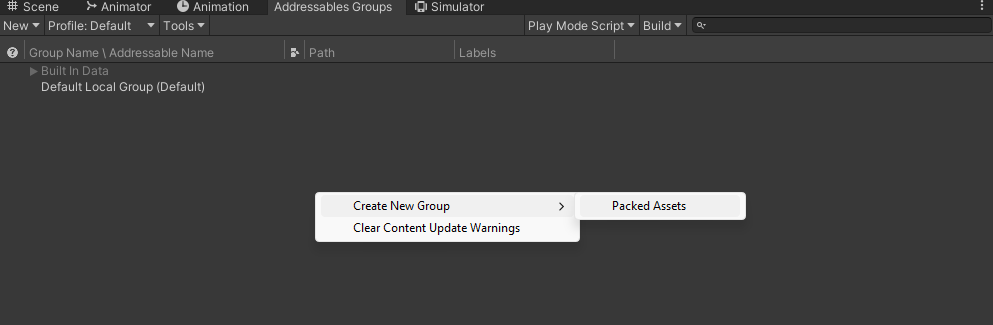
- Open Addressables Groups
- Right Click and Create New Group and then Select Packed Assets
- Rename it to SpacesGroup
- Click on Inspect Top Level Settings and Click on Manage Profiles

- Click on Create at the TopLeft Corner
- Create Variable (All Profiles)
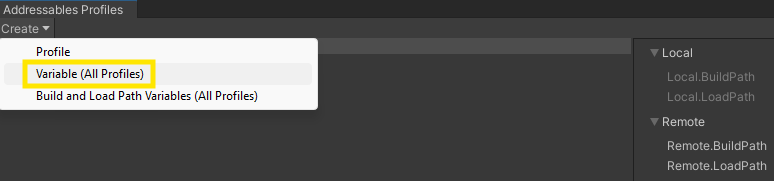
- Set the Prefix Name as Spaces Load Path
- Set Load Path Value as
{SpacesLoader.HostURL}and close the window

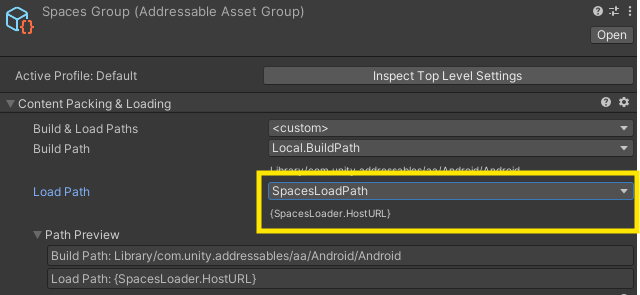
- Now Double Click on SpacesGroup in Addressables Group Window, In Content Packing & Loading set Build Path to the Path of your primary Catalog Build Path & Load Path to Spaces Load Path which you currently set from variables
- Turn on Use Asset Bundle Cache
- Set Cache Behaviour into Clear When When New Version Loaded
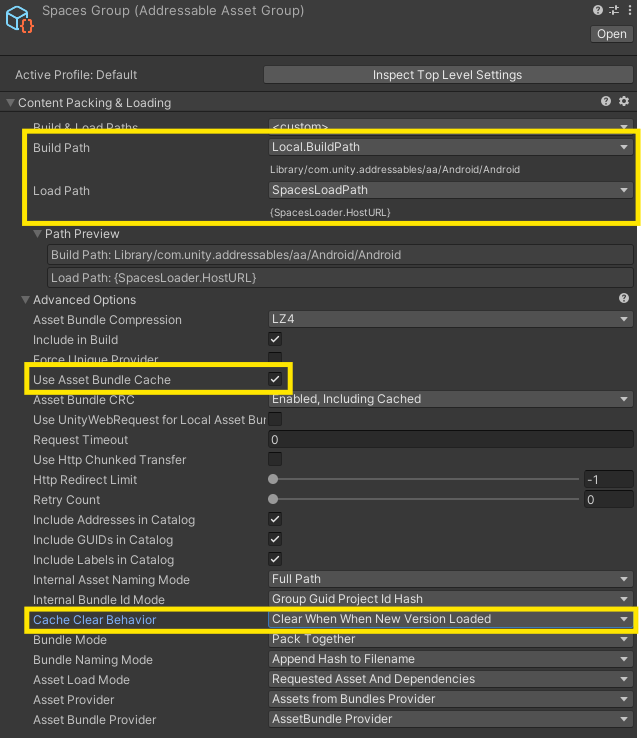
- Click on Inspect Top Level Settings and turn on Build Remote Catlog
- Set Catalog Build & LoadPaths to custom. Save your current Load Path elsewhere, you will need it in the next step. Do not alter the Build Path, set the Load Path to Spaces Load Path.
- Now Call
SpacesController.SetDefaultHostUrl(string loadPath);before where ever you are callingawait SpacesController.Load();and pass the Load Path of your Catalog that you had saved in the previous step. If you are generating the Catalog Load Path in Runtime, make sure you fetch the LoadPath and pass it inSpacesController.SetDefaultHostUrl(string loadPath);
    SpacesController.SetDefaultHostUrl("your-previous-default-addressables-group-load-path");
    await SpacesController.Load();
CDN Asset-Linking
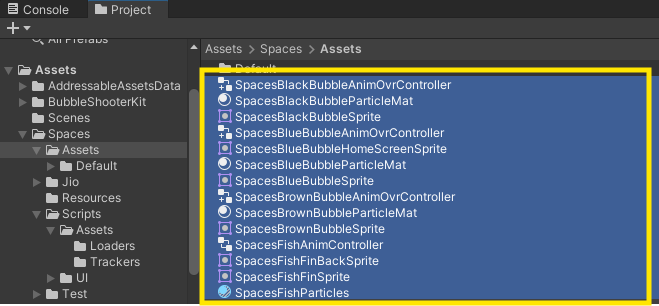
- In Assets Folder under Spaces Directory, Select all the files Drag and Drop all the files into SpacesGroup Tab
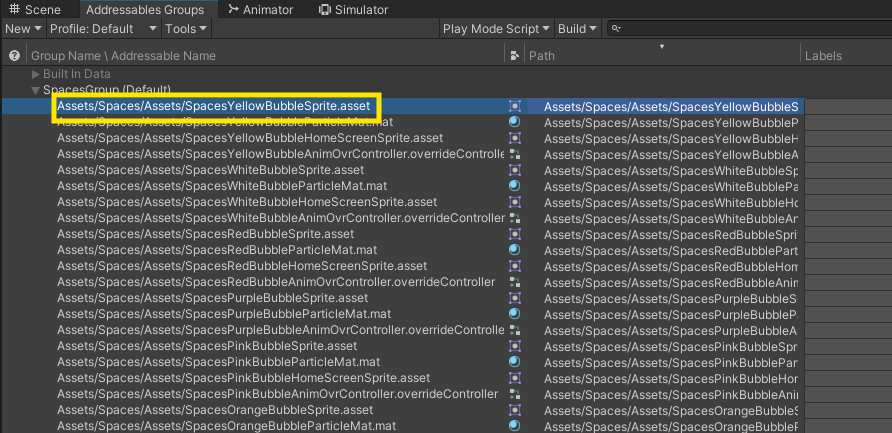
- Now we have to rename all the in SpacesGroup to their respective file names.
For example
Assets/Spaces/Assets/Coin/SpacesCoinMesh.meshinto `SpacesCoinMeshetc. - Rename all the Assets
- Select all the Sprites, Sprite Atlas & Textures in SpacesGroup and Turn on Use Crunch Compress and Click Apply
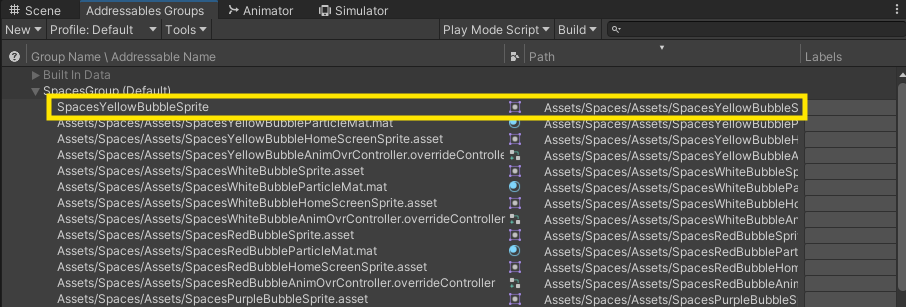
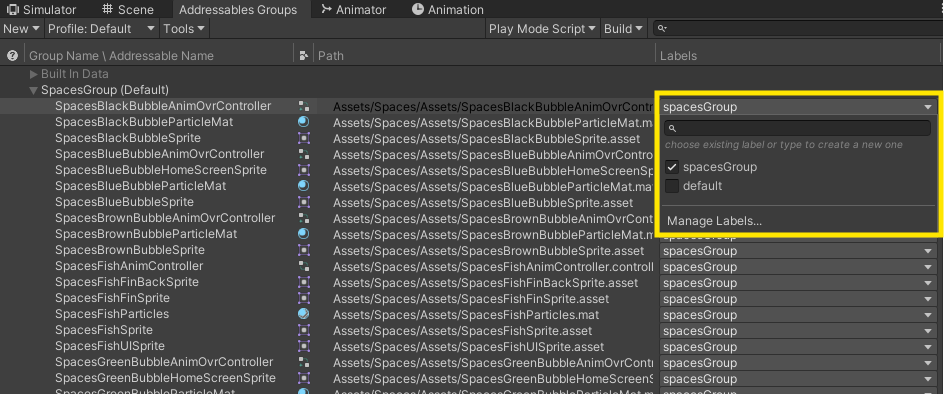
- Select all the assets in SpacesGroup and in the Labels tab, click on it and type spacesGroup and hit enter.
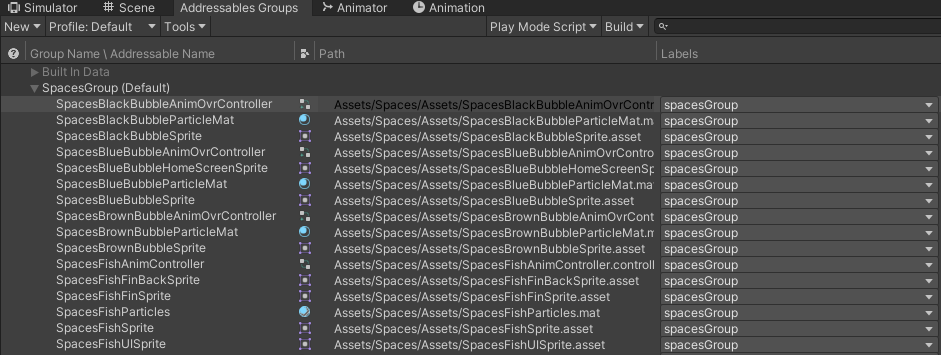
- Finally the SpacesGroup will look something similar like this
- Now go to Build under Addressables Groups and click on New Build -> Default Build Scripts.

- Now go to file explorer, to your build path. Send us all the files present in the WebGL folder
Cool, Integration is Done.
Running Campaigns Workflow.
- Open the Unity Project in WebGL platform
- We will send you a list of files that you need to Copy and replace at the Assets folder under Spaces Directory
- After that in Addressables Groups click Build and click on Update a previous Build
NOTE: NEVER click on update New Build after the first time integration

- Now go to file explorer, to your build path. Send us all the files present in the WebGL folder
And That’s it.